安装准备
服务器准备
- 1台 ESXI 宿主机
- 3台 Windows Server 2016
- 一台终端机
文件准备
- ventoy-1.0.29-windows.zip
- cn_windows_server_2016_x64_dvd_9718765.iso
- WindowsAdminCenter2009.msi
- cn_windows_10_business_editions_version_1909_updated_jan_2020_x64_dvd_b3e1f3a6.iso
- VMware-ESXi-6.7.0-8169922-LNV-20180404.iso
- VMware-VIM-all-6.7.0-8217866.iso
- VMware-Horizon-Connection-Server-x86_64-7.7.0-11038474.exe
- VMware-Horizon-Agent-x86_64-7.7.0-11054235.exe
安装开始
准备启动U盘
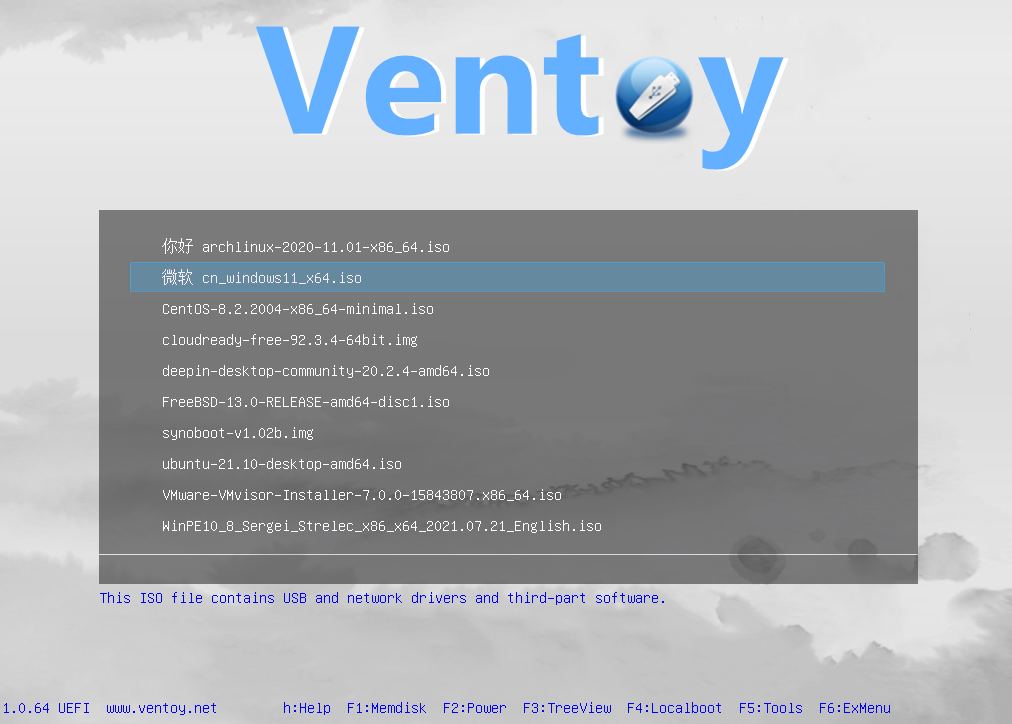
从 Ventoy 下载U盘格式化工具,之所以使用 Ventoy 是因为它具有如下优点:
- 无需反复地格式化U盘,你只需要把 ISO/WIM/IMG/VHD(x)/EFI 等类型的文件拷贝到U盘里面就可以启动了,无需其他操作。
- 你可以一次性拷贝很多个不同类型的镜像文件,Ventoy 会在启动时显示一个菜单来供你进行选择。
- Ventoy 无差异支持Legacy BIOS和UEFI模式。支持大部分常见类型的操作系统。

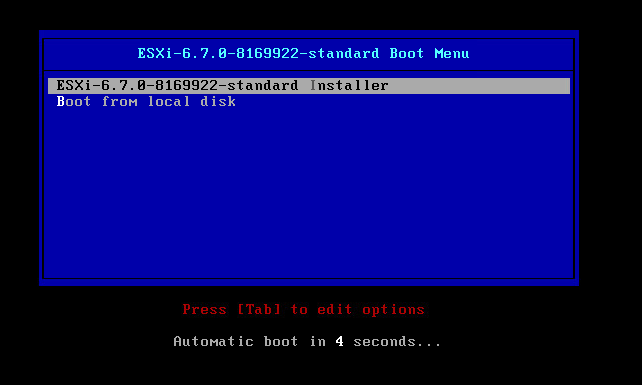
安装 ESXi

ESXi 开启远程 SSH
Troubleshooting Options->ESXi Shell is Enabled->Alt + F1- 登录到
ESXi Shell终端,修改/etc/ssh/sshd_config文件 - 将
PasswordAuthentication no改为PasswordAuthentication yes
新建服务器
域服务器
- 操作系统:Windows Server 2016
- 安装软件:Active Directory
- 管理面板:WindowsAdminCenter2009.msi
| |
VCenter 服务器
- 操作系统:Windows Server 2016
- 安装软件:VMware-VIM-all-6.7.0-8217866.iso
- 管理面板:WindowsAdminCenter2009.msi
- 其他操作:必须加入 Active Directory 域网络
Connection Server 服务器
- 操作系统:Windows Server 2016
- 安装软件:VMware-Horizon-Connection-Server-x86_64-7.7.0-11038474.exe
- 管理面板:WindowsAdminCenter2009.msi
- 其他操作:必须加入 Active Directory 域网络
服务器配置
- VCenter 设置连接 ESXi
- Connection Server 连接 VCenter
- Connection Server 设置桌面池
- 客户端虚拟机安装
VMware-Horizon-Agent-x86_64-7.7.0-11054235.exe - Active Directory 分配域账户(192.168.0.32/huangqiaochao/123456)
- 域管理员(ANTMAN\Administrator/123456)
- 虚拟机系统管理员(Administrator/123456)